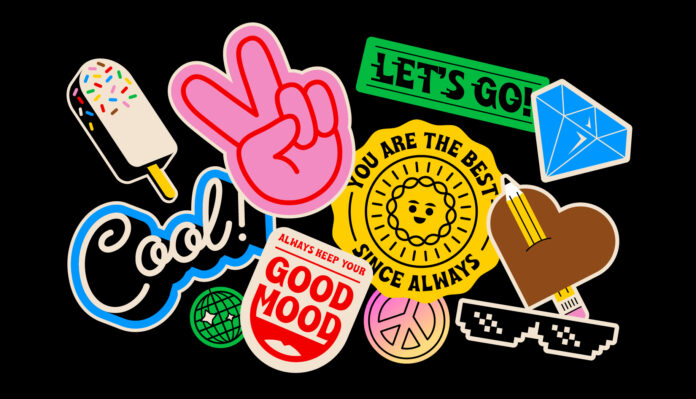
Holographic stickers have gained immense popularity for their eye-catching and futuristic appearance. Creating your own DIY holographic stickers can be a rewarding and creative endeavor, allowing you to personalize your belongings and unleash your artistic flair. In this comprehensive guide, we will walk you through the step-by-step process of crafting stunning holographic stickers from scratch. Get ready to embark on a journey of creativity and innovation.
1: Design Your Sticker
Begin by brainstorming and creating a design for your holographic sticker. Use design software such as Adobe Illustrator or Canva for a seamless and professional-looking design. Consider incorporating vibrant colors and intricate patterns to maximize the holographic effect.
2: Choose the Right Paper
Print your design on transparent adhesive paper or holographic adhesive sheets using a printer. Ensure the print quality is set to the highest resolution for optimal results. If using holographic adhesive sheets, you can find these at most craft stores or online.
3: Cut Out Your Design
Once the design is printed, carefully cut out the sticker shape using scissors or a cutting machine. Precision is key here, as clean edges will enhance the overall appearance of your holographic sticker.
4: Prepare the Holographic Layer
Now, it’s time to add the holographic effect. Cut a piece of holographic vinyl or holographic paper slightly larger than your sticker design. This will be the top layer that gives your sticker its distinctive holographic look.
5: Apply the Holographic Layer
Carefully peel off the backing of the holographic layer and place it over your printed sticker design. Smooth out any air bubbles using an application tool or a credit card, ensuring the holographic layer adheres seamlessly to the transparent adhesive paper.
6: Trim Excess Material
Trim any excess holographic material around the edges of your sticker using scissors or a cutting machine. This step is crucial for achieving a clean and polished final product.
7: Transfer Your Sticker
Cut a piece of clear transfer tape slightly larger than your holographic sticker. Peel off the backing of the transfer tape and place it over the holographic sticker, pressing firmly to ensure proper adhesion. Gently peel off the transparent adhesive paper backing, leaving your holographic sticker attached to the transfer tape.
8: Apply Your Sticker
Carefully position your holographic sticker on the desired surface and press it down firmly using the application tool or credit card. Smooth out any air bubbles, ensuring the sticker adheres smoothly to the chosen item.
9: Enjoy Your DIY Holographic Sticker
Congratulations! You’ve successfully created your own DIY holographic sticker. Admire your artistic creation and enjoy the futuristic and captivating vibes it adds to your belongings.
Conclusion
Crafting your own holographic stickers is a fantastic way to unleash your creativity and personalize your items. By following this step-by-step guide, you can create stunning holographic stickers that are not only visually appealing but also uniquely yours. Experiment with different designs, colors, and shapes to make your holographic stickers truly stand out. Get ready to showcase your artistic prowess and turn ordinary objects into dazzling works of art!
